Friday 19th April 2019
![]()
It’s nearly Easter and this seems to be my first and final Easter recipe this year. I’ve actually had this recipe for a while but I just haven’t gotten around to posting it yet as my life has been kept busy with revision.
Yes, it is indeed that time of year again where I have even less of a life than I usually do and spend all my time revising, hoping that I am going to pass. Whilst this time last year was stressful because they were my finals for my degree, this year seems to be worse as I only finished placement yesterday and exams are far too close for my liking (i.e. the end of this month).
Anyway, enough of exam talk and back to cake. Because who doesn’t like cake?
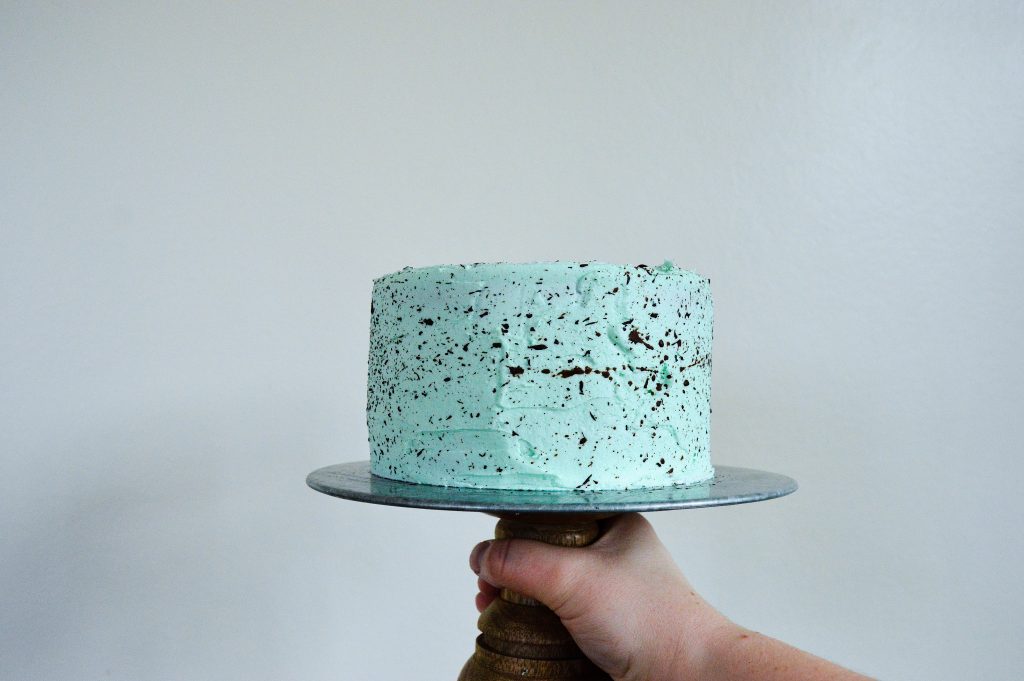
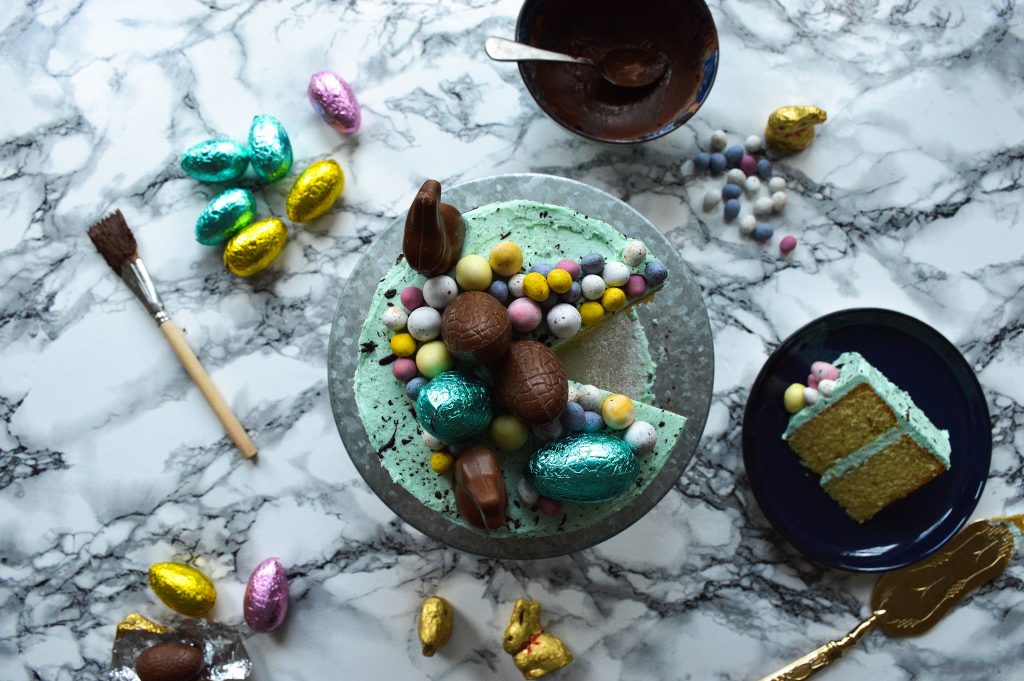
This cake is actually just a really basic vanilla cake but the speckled effect on it is an effect I’ve seen more than once and I just had to try it, and I have to tell you, it is honestly so much fun. It is quite messy but it is totally worth it.
Since I am a tad lazy, I actually took my cake outside and did it to minimise the clean-up that I could see if I tried to do this inside. So do it outside, or put down a tonne of newspaper covering every surface possible and do it inside.
![]()
The blue buttercream goes really well with the speckling and reminds me off the egg shells that I always found outside when I was little. Oh and it just feels very spring like and Easter-ish, although you could totally make this any time of the year and it would still be super cool.
![]()
Happy baking and Happy Easter!
![]()
Serves 8
Ingredients:
For the cake:
225g Self-Raising Flour
225g Unsalted Butter
175g Caster Sugar
4 Eggs
1tsp Baking Powder
1tsp Vanilla Extract
For the icing:
225g Softened Unsalted Butter
450g Icing Sugar
1tsp Vanilla Extract
Blue Food Colouring
For the Speckle:
1tbsp Cocoa Powder
1tbsp Vanilla Extract
Method:
- Preheat the oven to 170°C Fan and line 2 6-inch circular baking tins with parchment paper.
- In a bowl, put all the cake ingredients and beat together with an electric whisk until the cake batter is pale in colour and everything has mixed together (this takes 4-5minutes).
- Evenly split the cake mixture between the 2 cake tins and then bake in the oven for 30-35 minutes, until a skewer comes out clean when it is inserted into the cake.
- Allow the cakes to cool in their tins for 15 minutes before removing the tins and allowing the cakes to cool completely. Once the cakes are completely cool slice the tops off the cakes to make them flat.
- To make the buttercream, beat the butter for 5-6 minutes on a high speed with an electric whisk until it is nearly white in colour. Add in a tablespoon of icing sugar at a time, beating the icing sugar into the butter. Keep doing this until all the sugar has been added into the butter. Add in the blue food colouring until a pale blue colour is achieved.
- On a plate or a cake board, place one of the cakes on it and then spread some of the buttercream on the top of it, before adding the second cake layer on top of the buttercream. Spread a thin layer of the buttercream all over the top of the cake and the sides. Allow this to set for about half an hour before spreading a second thicker layer. Use a palate knife or a spatula to smooth the sides and the top of the cake.
- Mix the cocoa powder and the vanilla extract together until you get a thin paste. Using a clean never been used before paintbrush or a pastry brush, dip it in the chocolate paste and then holding the brush in one hand, use the other hand to flick the bristles, getting the chocolate mixture all over the cake.
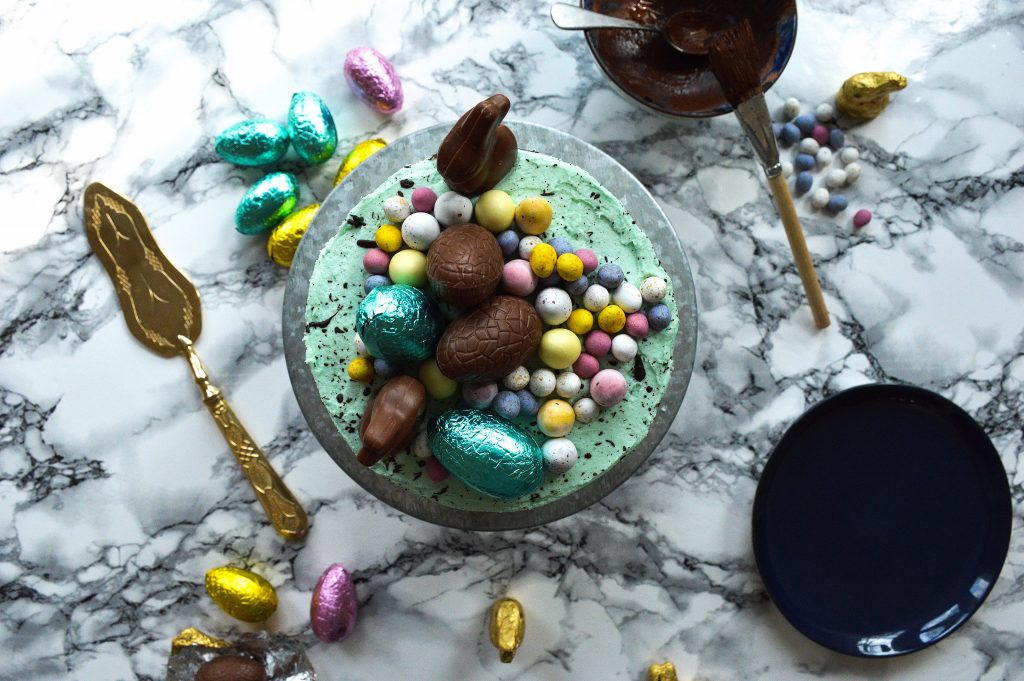
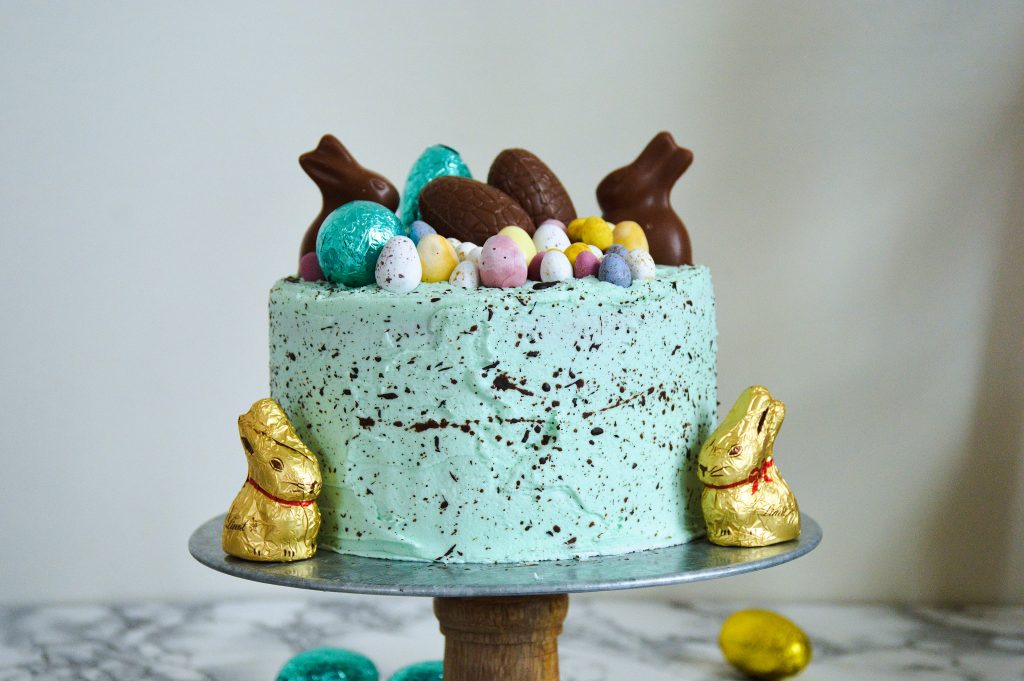
- To finish the cake, top it with some chocolate eggs or bunnies.